This floating corner desk was a project I recently built for a friend. It's my first project building a piece of furniture for someone else and it was a lot of fun! I'm starting to run out of places to put the stuff I build!

My friend wanted a computer desk and had a vision for a corner desk. From there we went back and forth and brain stormed a few ideas. Eventually we settled on this minimalist floating look. It's simple, but the wood mosaic keeps it from ever looking plain and boring.
Here's a look at just the desk with no computer to distract you.
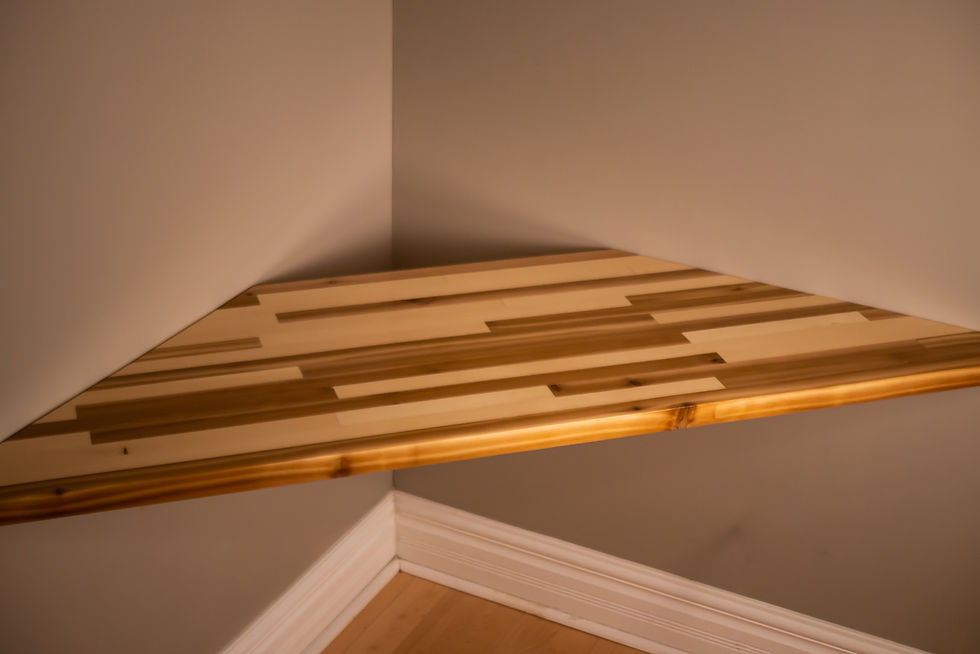
This is also one of my first projects that has a glossy finish. Generally I avoid glossy finishes because it's such a pain in the ass to get them perfect, but that's what my friend wanted so who was I to say no! I was just the hired gun who made it.
Truth be told I think this looks really good and I'm glad we did it. The finish is so glossy it's reflective!

This is the 3D model we worked from. It really helped to model out the whole room to figure out how the desk would fit in. It also helped me describe exactly what I was going to build for my friend. As you'll see later I was able to pull a lot of measurement out of this 3D model and use them in real life.
My friend was also concerned about how his monitor would fit, luckily someone had already 3D modeled his exact monitor and posted it online, so I was able to easily download it and import it into the project.

The list of materials used in this project is short. Just some wood, some glue and a glossy varnish.
It's made of red cedar and yellow pine. The pine is moulding grade pine which is generally used for interior trims, like baseboard, mantels and etc. It has minimal knots (but obviously still some) and comes pre-dimensioned. The cedar is just regular old cedar like you might buy to build a desk with, though I took care to buy it from a mill I know stores their cedar inside and out of the elements.
I bought 1 - 2" x 8" x 12' in cedar and cut it in half and 1 piece of 2" x 12" x 6' pine.
Total cost for the wood, varnish and all the misc bits I needed was about $150 CAD.
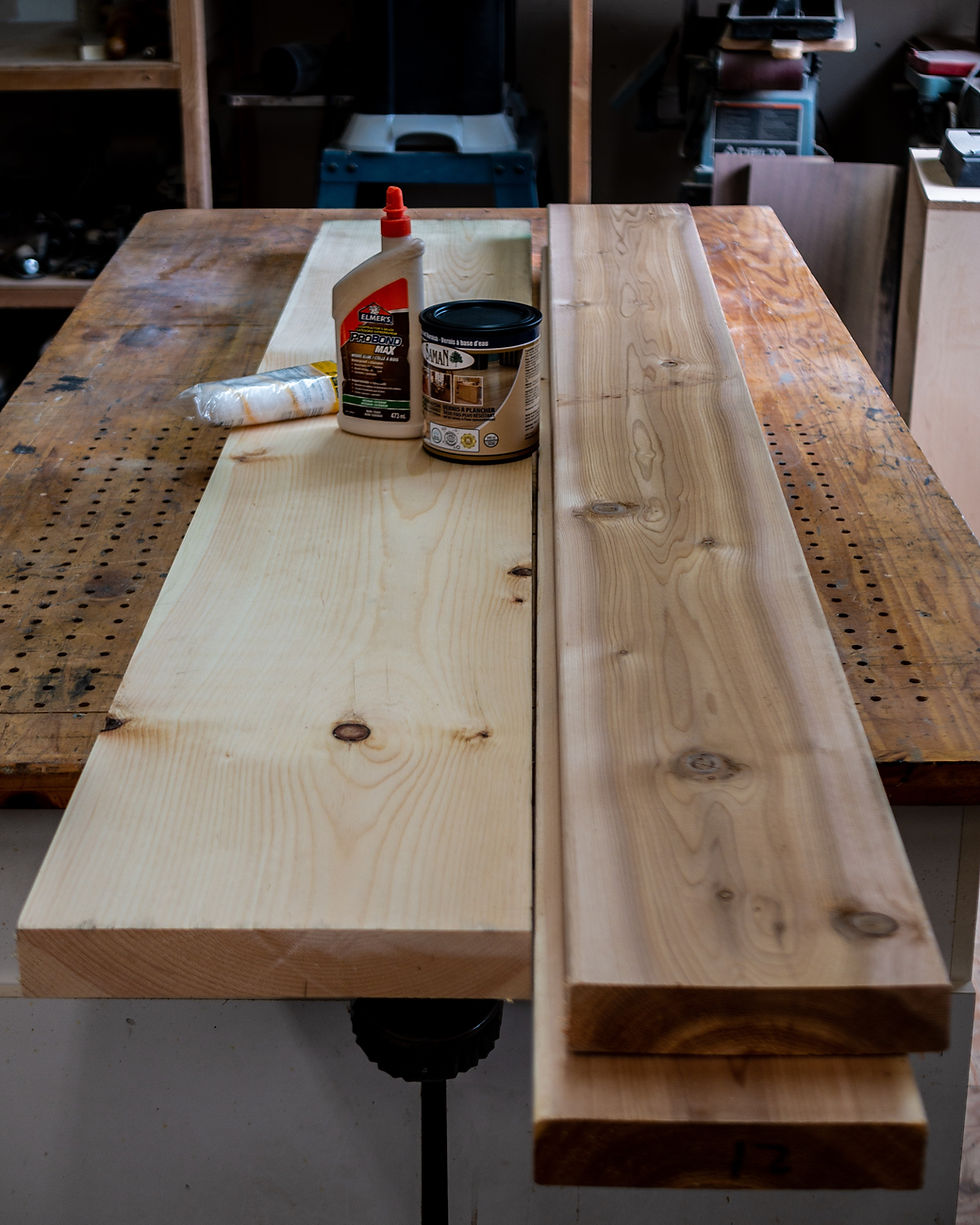
I wanted the desk to be a 1.5" thick. That meant my first job was to cut all of my cedar and pine into 1.5" x 1.5" x 6' rectangular prisms.
It was a pretty time consuming and repetitive job, but to help pass the time I listened to an audiobook while I worked. In fact, I almost always listen to audiobooks while I'm working in the shop. It's a great way to catch up on reading, which I rarely have time for these days.
While building this desk I was listening to Bad Blood by John Carreyrou about the rise and fall of Theranos and Elizabeth Holmes. Great read, I'd highly recommend it.

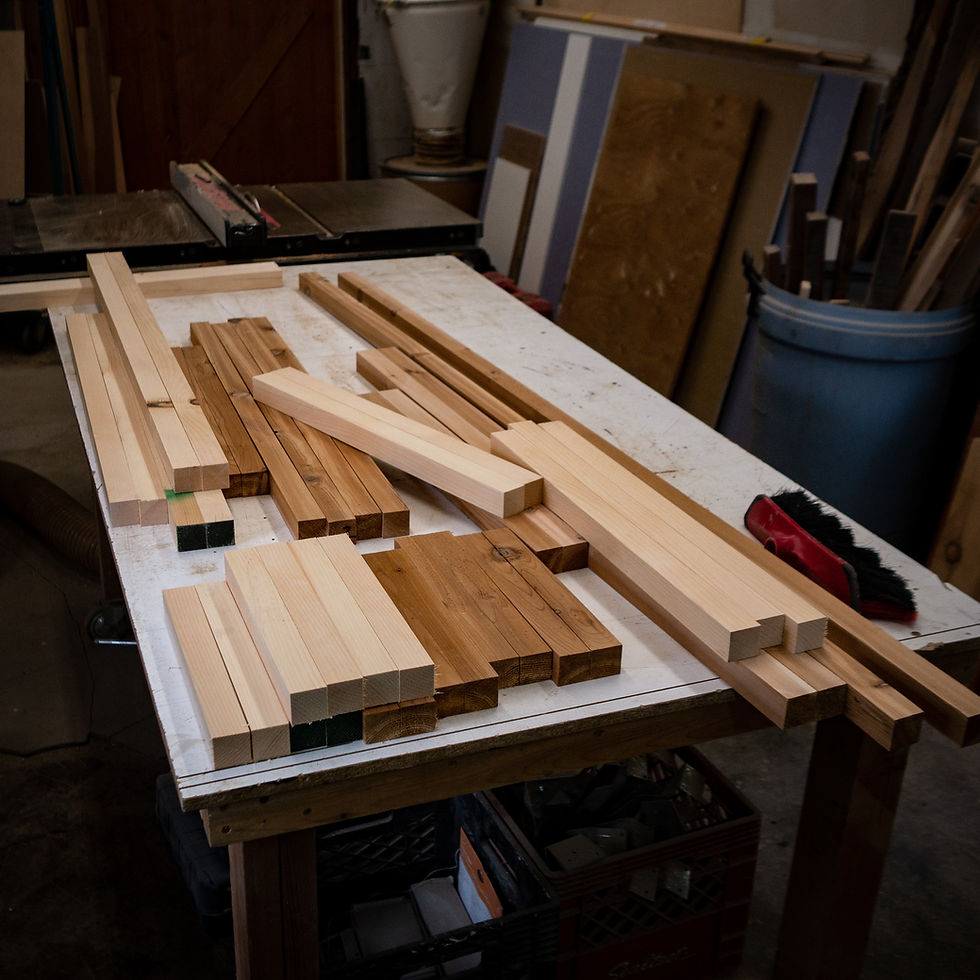
These are all the rectangular prisms I cut.
It's a 60/40 split between pine and cedar because I wanted the outside edges of the desk to be banded in cedar, so naturally I needed a little more cedar than pine.

Next, in 1 foot increments, I cut each piece to random lengths with a chop saw.

Most of them are 1' long, but I included a good number of 2s, 3s, and even a couple of 4s. I wanted to keep it visually interesting without looking too busy and I felt this was a good compromise. Let me know if you agree in the comments!
Making a desk like this involves working with glue, and because you have to work fast before it dries it tends to get a bit messy. I didn't want to get glue all over my nice work tables so I grabbed a roll of house wrap and covered it.
House wrap is normally used as a protective membrane that sits between the siding and the exterior sheathing of a house. This particular brand of house wrap is remarkably similar to wax paper in terms of look and feel so I knew the glue wouldn't stick to it very well. Basically it was a big baking sheet for desk glue up haha.

Here I am dry fitting all the pieces so that I could find a pattern I liked the look of. I didn't want any of the seems to line up with one another, so it was a bit of a jigsaw.

Glue time! You've got to work quickly here otherwise the glue will start to dry before you can finish and you'll be stuck (pun intended) with a sticky mess instead of a nice desk.
I dumped some carpenter glue into an old coffee cup and used a cheapo paint brush to apply it.
In order to extend my drying time a bit I added some water to the glue. My final mix was about 25% water and 75% glue. It definitely helped to extend my drying time, but it also thinned the glue. To compensate for the diluted glue I was very generous while applying it to the wood.

Before I even started gluing I already had my clamps set to the size they would need to be and laid out ready to go. The time saved per clamp might be measured in seconds, BUT, when you're using as many clamps as I did that time adds up.
It's always a rush to get these setup perfectly before the glue starts to go off.

My working table is perfectly flat so I used a C-clamp in each corner to keep the desk from warping or cupping while the glue dried. Go ahead, count the clamps, I dare you!

I'd like to pretend that as soon as I took the clamps off the desk it was perfect and ready to go, unfortunately, that just isn't the case. After every glue up there is bound to be some variation in the height and alignment of the pieces of wood.
To smooth out the desks surface I spent hours sanding it with my belt sander and an 80 grit sanding belt. The 80 grit belt offered a good balance between speed and "oh shit I didn't move the sander for one second and put huge gouge in my wood!"
Again thankfully I had my audiobook to keep me company during this boring stretch.
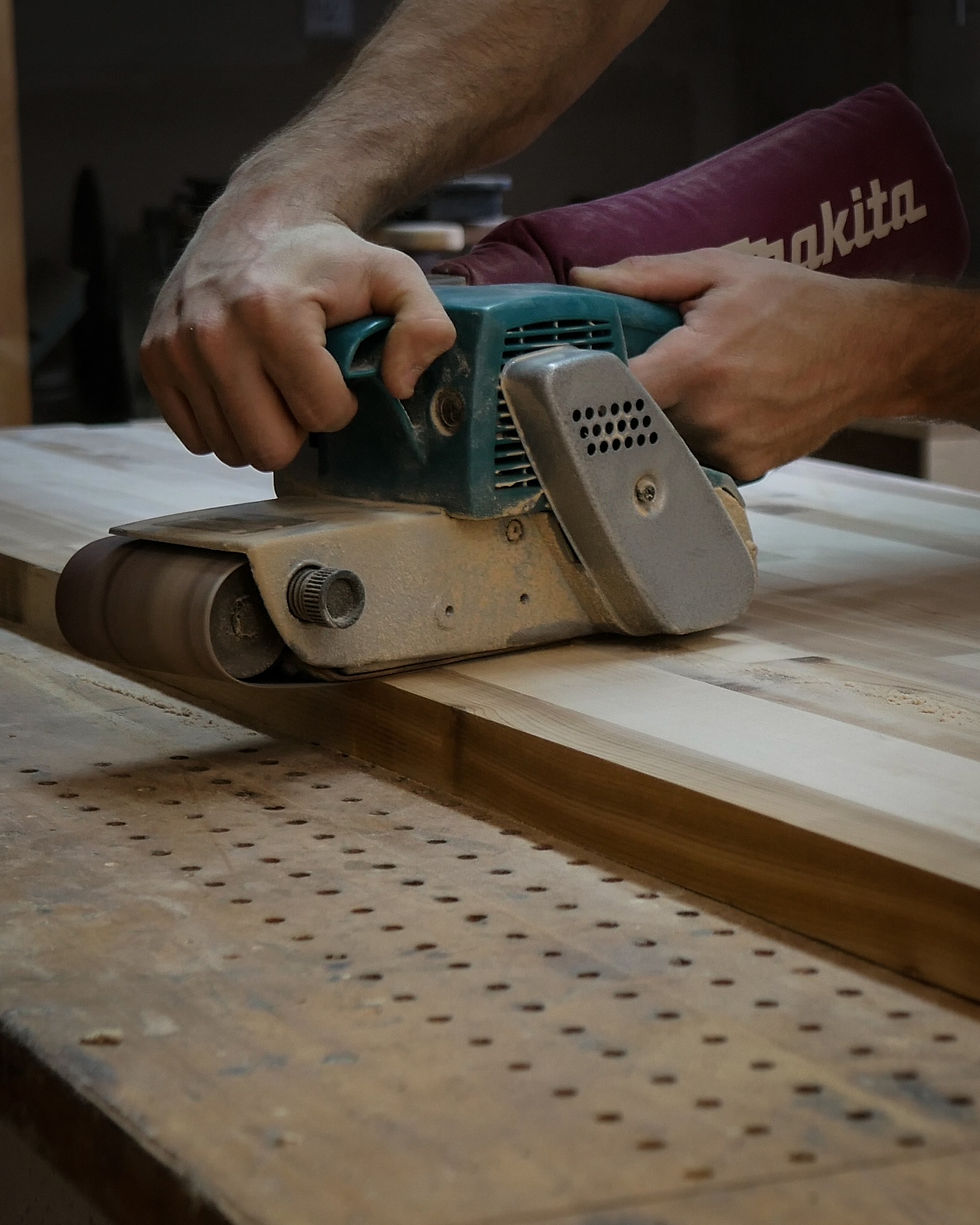
After I had done the bulk of the work with the belt sander I switched over to a random orbital palm sander. The palm sander was nice because it freed up one of my hands for texting and browsing the internet.
Just kidding kids, don't text and sand.
I used 180 grit sand paper first and then progressed to 220 grit to get a silky smooth finish.
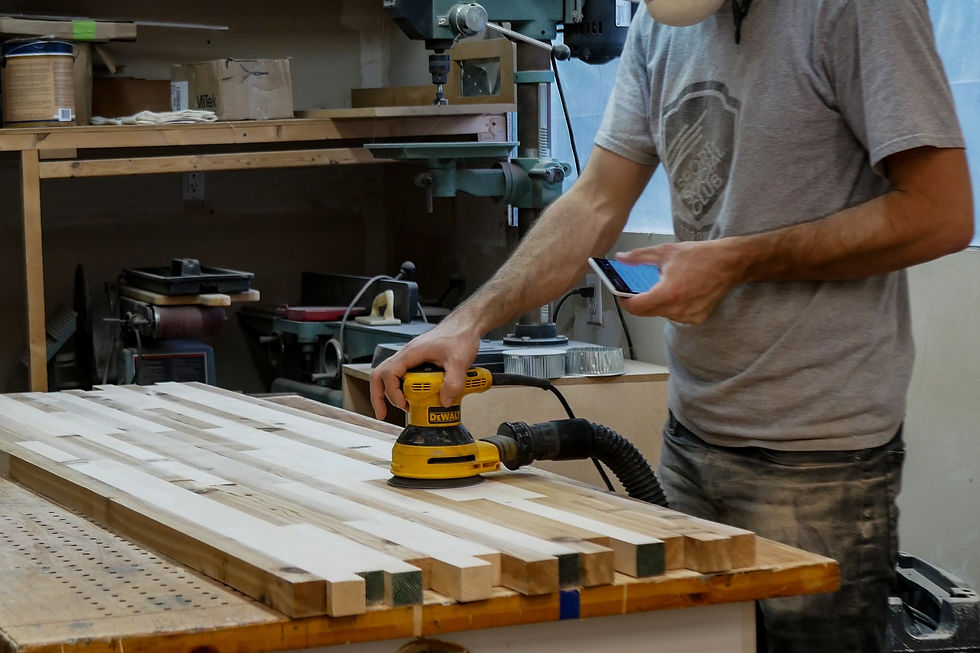
After hours of sanding I ended up with something that looked like this. I really love this stage of the project, I spent so long sanding these separate pieces of wood that they've become seamless to the touch. It really felt like one single surface.
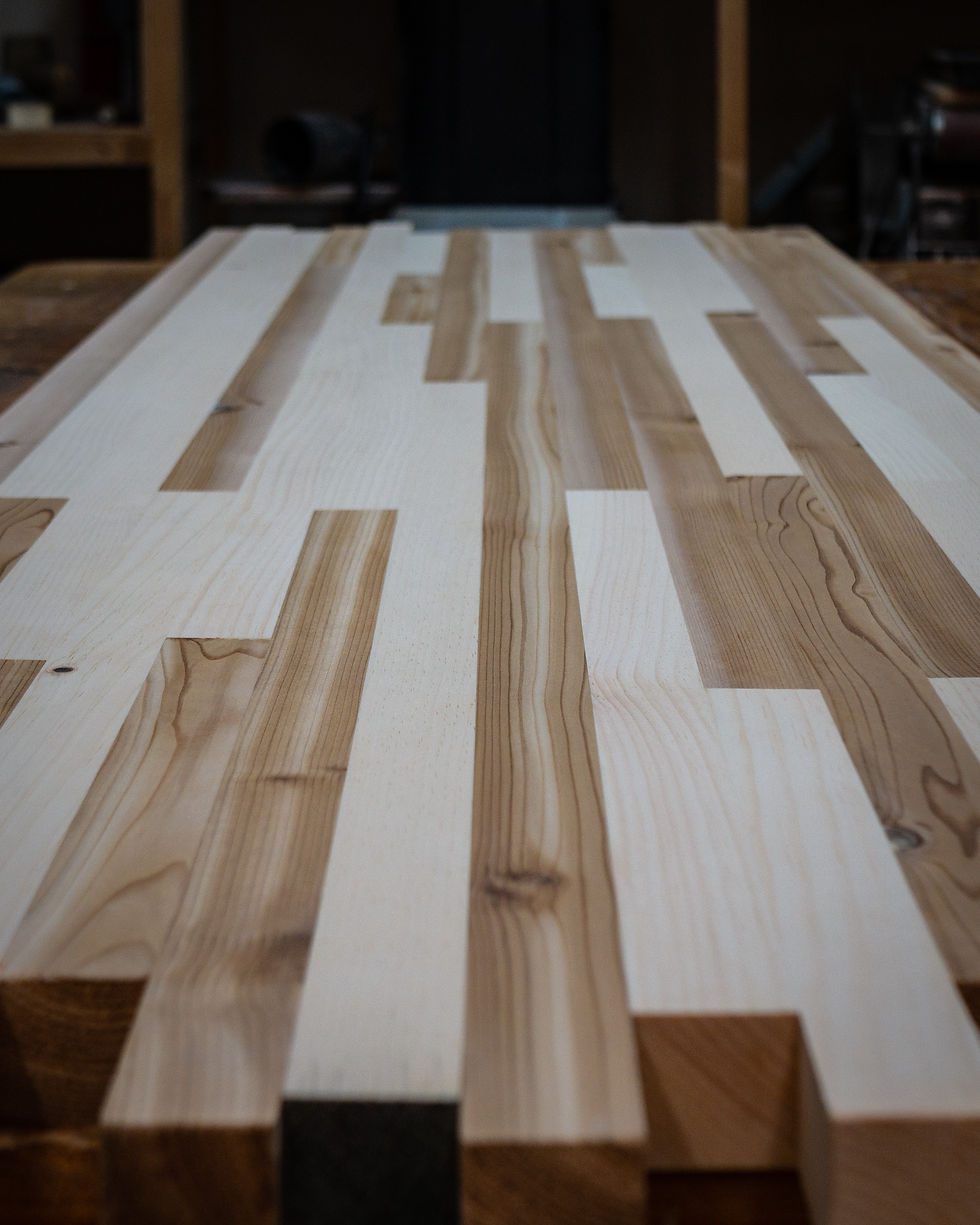
"Butttttt Zaaaaacccccccc the picture you opened with showed a desk shaped like an isosceles trapezoid and so far all you've shown is a rectangular desk!"
I know, I know. I didn't trust myself to glue up a perfect trapezoid though. So I made a rectangular desk and now I'm going to cut it into a trapezoid.
These are the measurements for each side that I pulled from the 3D model.

Using my handy digital angle gauge I marked some 45 degree lines on the surface of the desk...

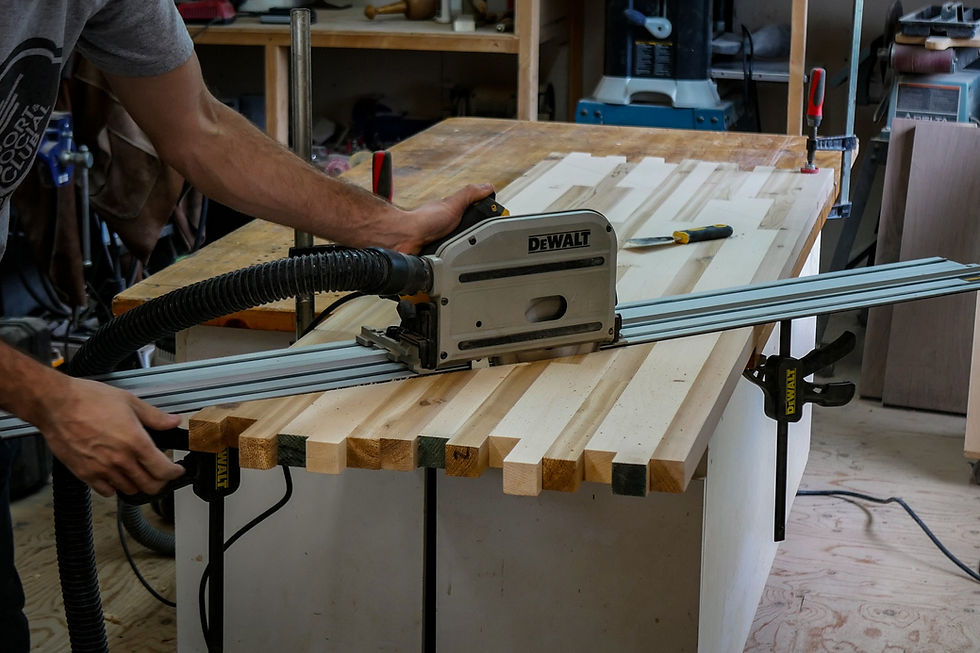
and then using my track saw I extrapolated and cut along them. After I had done both sides I was left with the isosceles trapezoid shape from the first few pictures.
Now it was time for the part of the project I was most anxious for. Normally I clear coat most of my projects with some sort of varnish, but I generally avoid glossy finishes and stick to matte and satin. Glossy finishes tend to highlight small imperfections and even the smallest piece of dust can be visible when caught beneath a glossy clear coat.
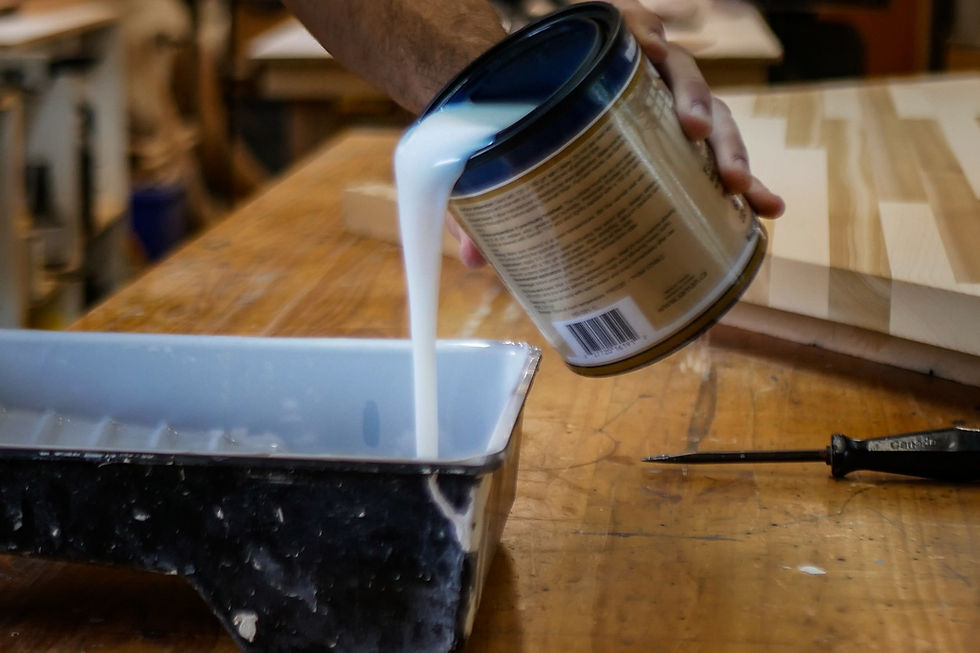
Predictably my first coat was a mess of small hairs from the mini roller I used. So much for the "lint free" label.
That's ok though, this was never going to be a one coat project.

Using a fine 320 grit sand paper and a sanding block I sanded between each coat of varnish.
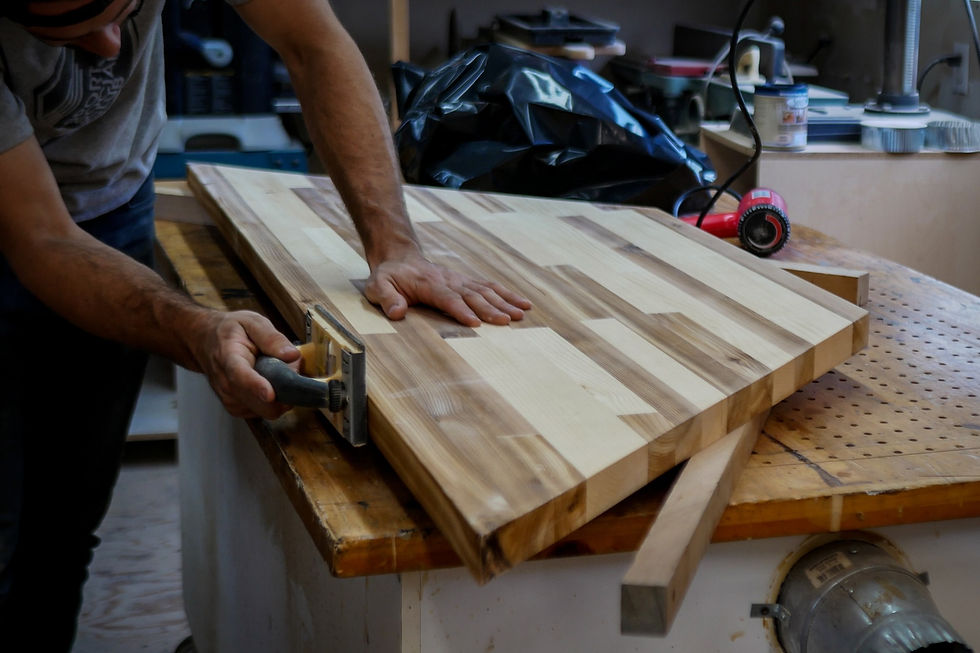
I was careful to vacuum up every little bit of dust between coats too. Because like I said before, even a small piece of dust trapped under the clear coat will be visible in the finished product.

I've got to admit though, this glossy finish is starting to look really sweet.
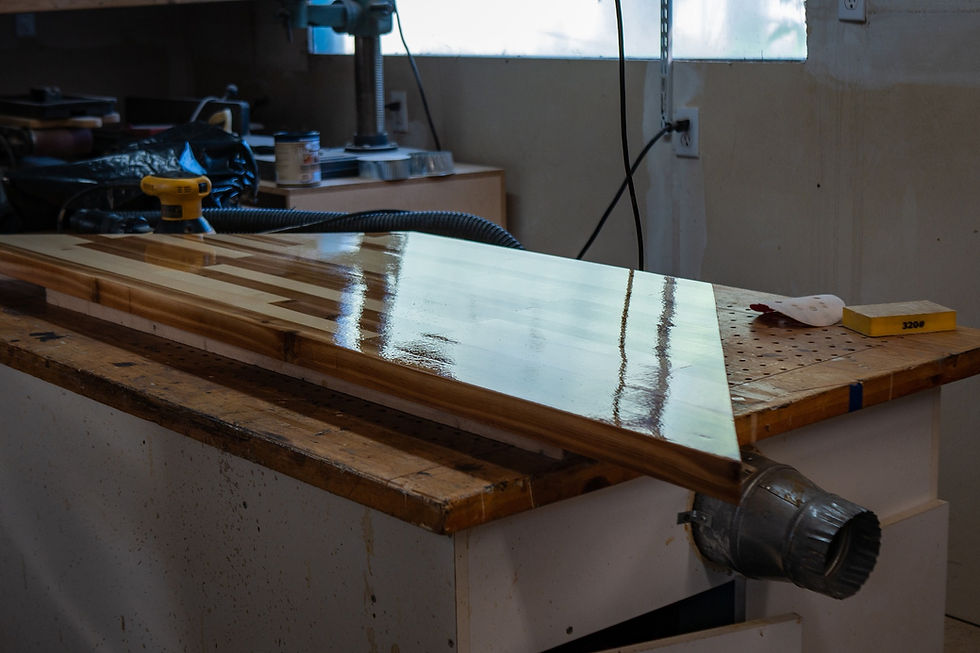
Finally after 4-5 coats I finally got one that I was happy with. I found it helped to work quickly and to apply thinner coats. My first few coats were too think and ended up drying slightly un-evenly.
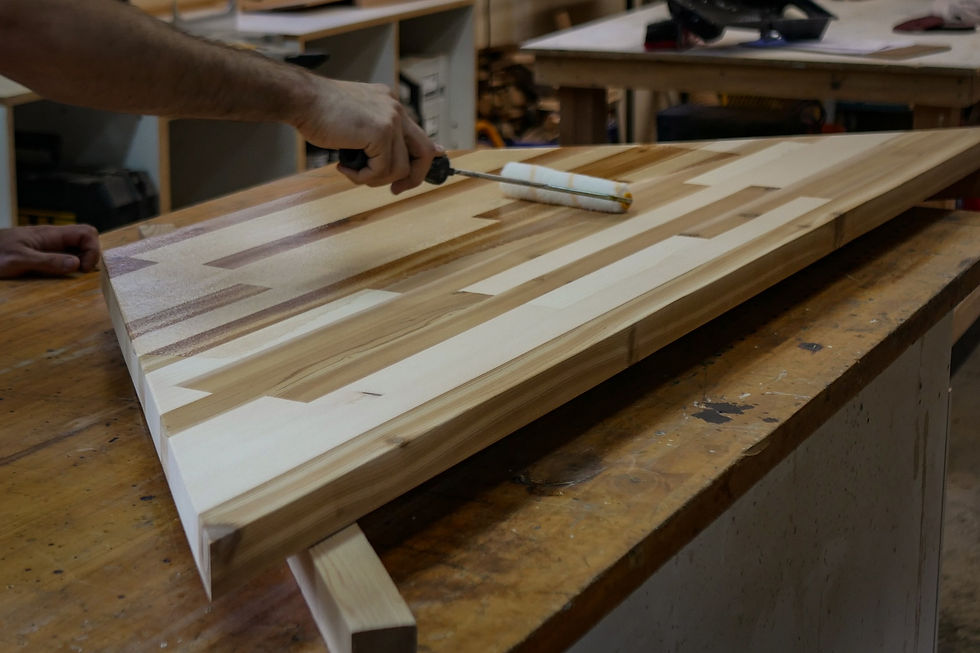
The desk surface might have been done, but I still had a couple more cuts to make. I needed to make 2 mounting cleats that would secure the desk to the wall. Because I didnt want to get a bunch of saw dust in my still drying clear coat I rolled a miter saw outside and set to work.
I cut 2 piece of cedar that were 24" x 3/4" x 1.5"
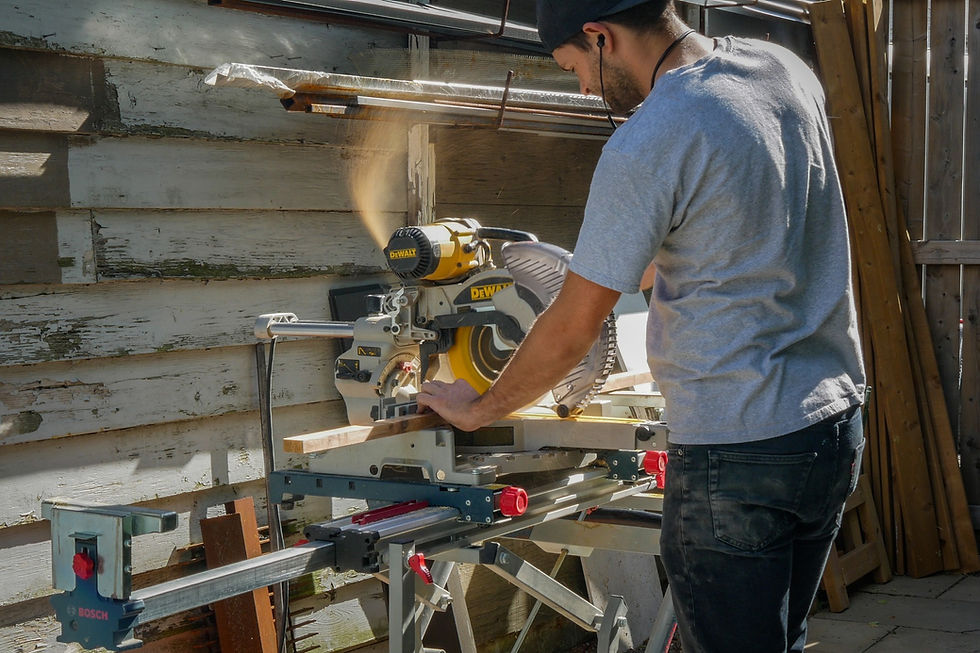
I drilled 3 pilot holes from the bottom of the cleats.
Once I install the cleats on the wall these holes will allow me to screw the desk top to cleats from below.

Done! Just to keep things consistent I also applied clear coat to the cleats too.

Using a laser level as a guide for both level and the location of a stud I installed the cleats onto the wall.
I used 3" wood screws to secure them in place.

Only thing left to do now is a quick test fit.
Small variations in the wall kept it from fitting PERFECTLY but it did fit really nicely. I offered to use a little bit of clear caulking to hide these discrepancies, but my friend opted to live with them to make it easier to remove the desk in the future.

My friend held the desk down with all of his weight while I screwed through the cleat from and into the bottom of the desk. I used number 10 2" wood screws for extra bite. Woof!

The cleats are admittedly a pretty simple design, but it works and feels sturdy. They're not quite a French cleat, but maybe a French Canadian cleat?

I love the contrasting grains and colours of the cedar and pine. They compliment each other nicely. The varnish also adds a nice warm tone to the whole thing.
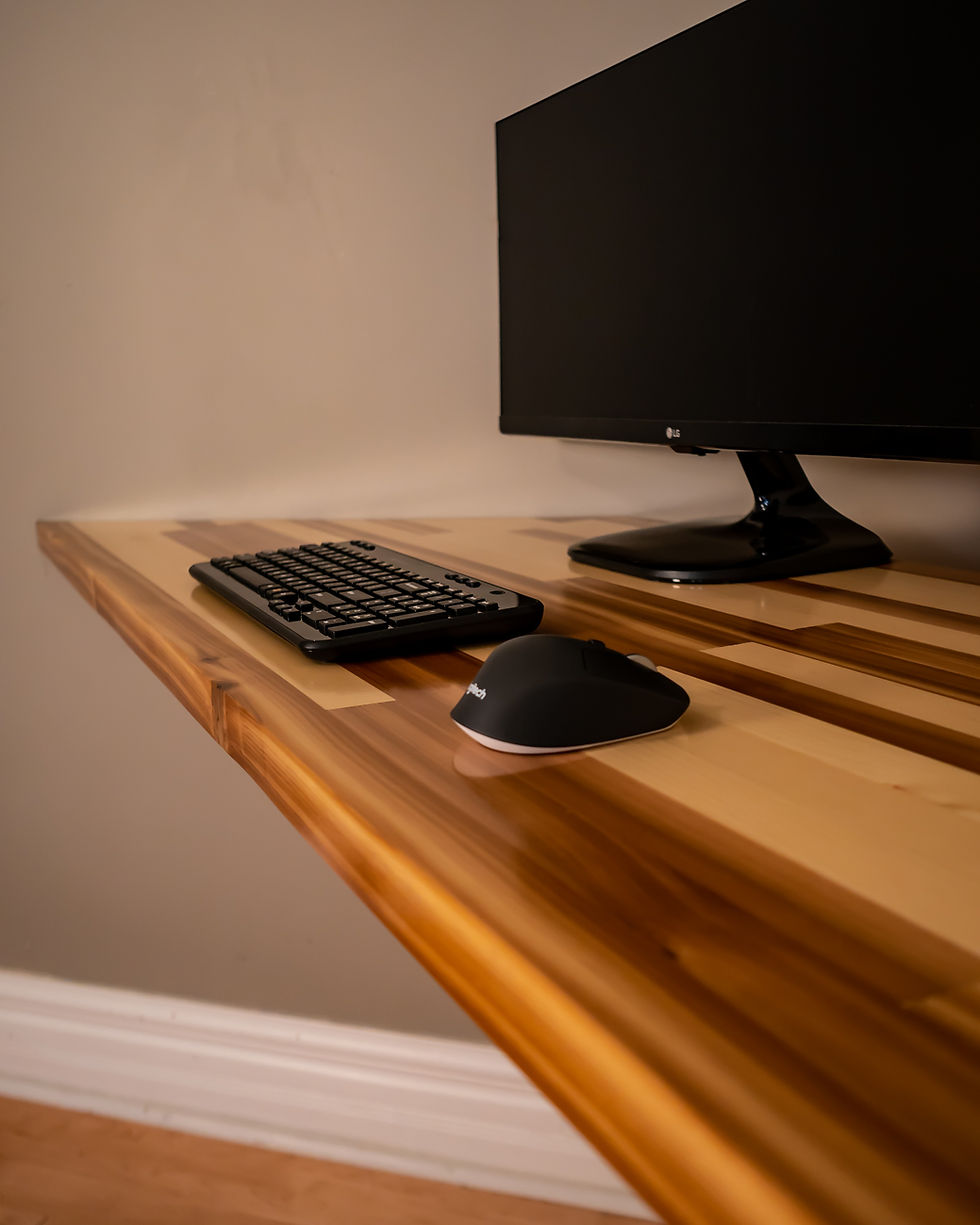
I tried to select a piece with some interesting knots for the front band so that when you look at the desk head on it's visually interesting.
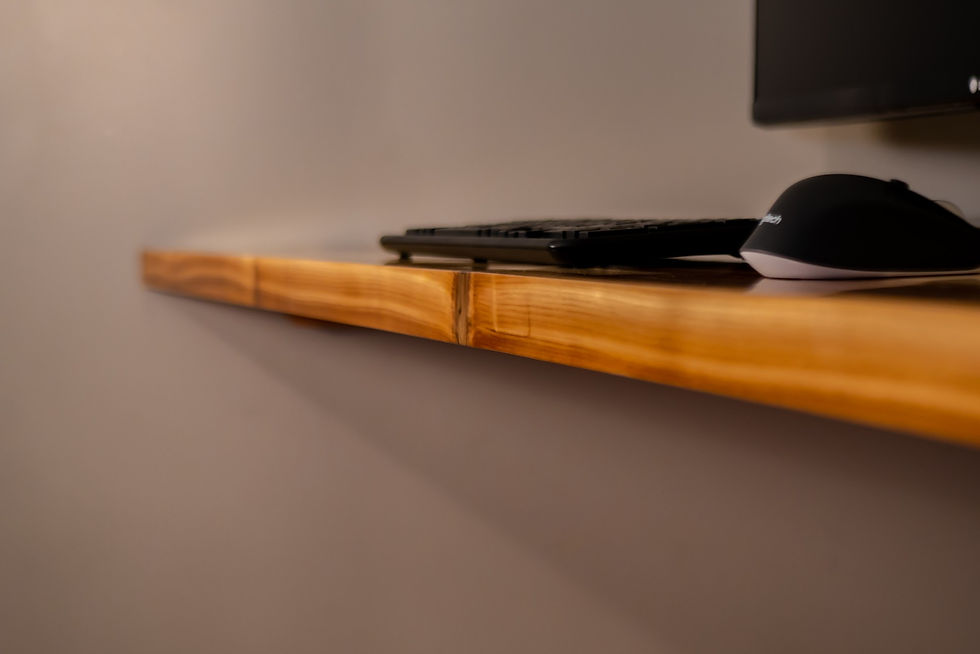
Now I know what you're thinking: "Where are all the cables?!"
And yes, it's true, we basically just mocked the desk up for the photos. We didn't have the time to fully hook up his computer that day. That being said it won't look all that different from this once the computer is setup.
My friend is planning on using a wireless HDMI transmitter to have his computer on the other side of the room. So really the only thing missing here are a power cable for the monitor and the wireless HDMI transmitter. Isn't the future wonderful?!
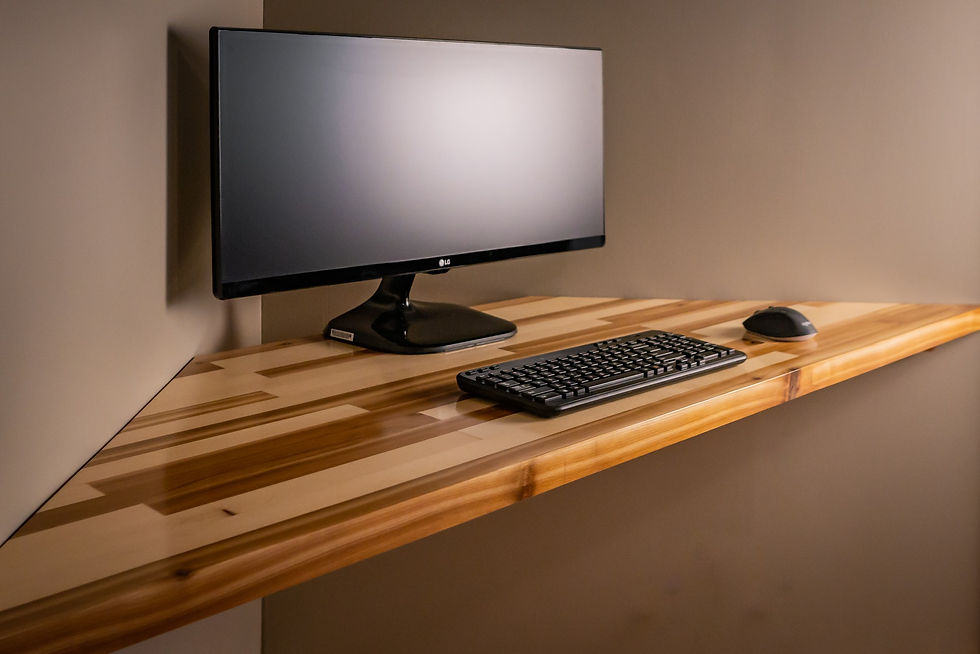
The gap at the back of the desk allows for easy cable management, though like I said before there won't be much of that going on!

When we first started discussing the idea of making a desk here I was really skeptical that it would be big enough. There's a door frame on the right side of the desk that limited how big we could get, but after mocking up his desk it turned out to be more than enough space. It's nearly 6 feet wide across the front, which to my mind is plenty big for a desk.

Thanks for checking out my build and again, if you liked what you saw hit the subscribe button so you can be notified next time I post a project!
If you have any questions please feel free to ask away!




Sorry to hear that, hope you have a quick recovery!