Hello Guys,

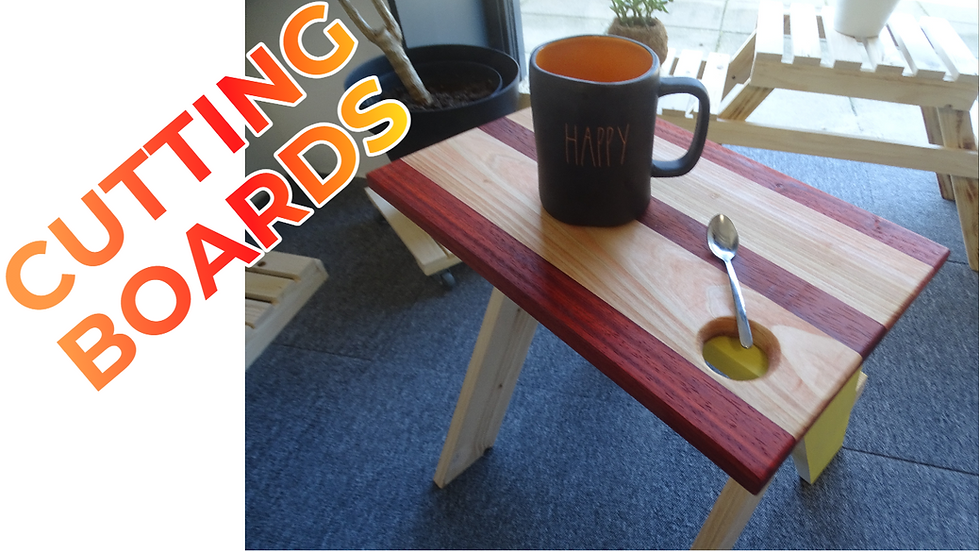
In this article, I will be sharing a very simple way to Upgrade your kitchen with a DIY Cutting board from reclaimed wood!
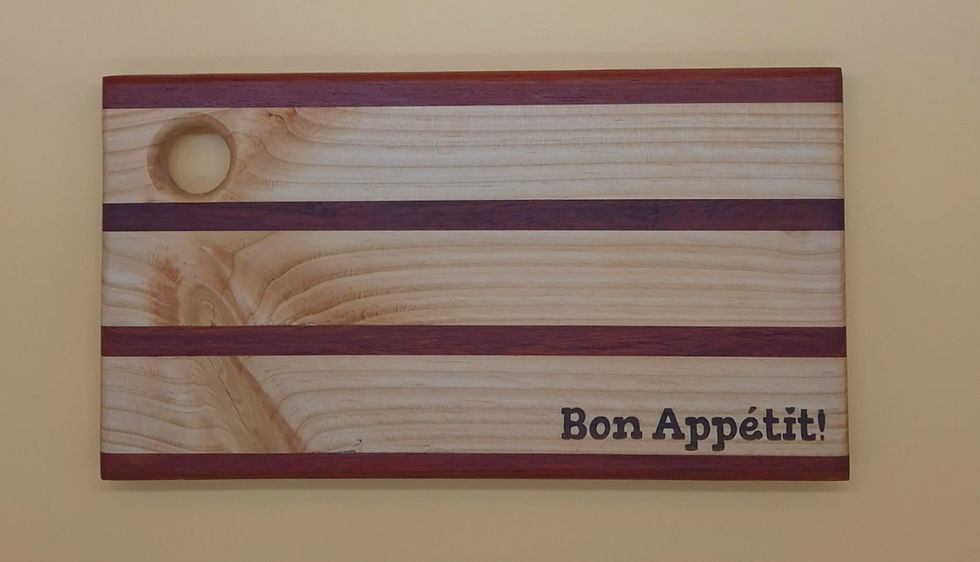
Creating your own kitchen cutting board is a rewarding and surprisingly easy DIY project that adds a touch of handmade style to your cooking space. In this tutorial, we’ll show you how to make a cutting board using two beautiful wood colors—light brown and red—creating a unique, eye-catching striped design. This project is beginner-friendly and requires only a few materials, making it perfect for anyone looking to enhance their kitchen with a functional and stylish handmade cutting board.
To make this project even easier, a 3D plan is available to help guide you through the steps, especially if you’re working on similar DIY wood projects.
Materials Needed
Before we begin, gather these materials to ensure you have everything needed for the project:
Wood: Maple (light brown) and Cherry (red) or similar wood choices
Tools: Clamps, wood glue, jigsaw (optional), hand or electric sander, sandpaper (80, 120, and 220 grit)
Finishing: Food-safe mineral oil or cutting board wax for the final touch
These materials are easy to find and affordable, making this project accessible even to beginners. Make sure to select high-quality hardwoods, as they are durable and safe for kitchen use.
Step 1: Cutting the Wood Pieces
Start by measuring and cutting your wood into strips. For a small board, you may want 3–5 strips of each color, each around 1–2 inches wide and 12 inches long.
Tip: Use a table saw or jigsaw for precise cuts. Aim to keep the strips uniform for an even surface later.
Step 2: Arranging the Pattern
Lay out your wood strips in an alternating pattern—light brown, red, light brown, and so on.
Adjust the pieces until you're happy with the look. This alternating arrangement will create a striking striped effect that highlights the unique tones of each wood.
Step 3: Gluing and Clamping
Apply a thin layer of wood glue to the edges of each strip and press them together in your chosen pattern.
Use clamps to hold the pieces together tightly and leave them clamped for at least 24 hours to ensure a solid bond.
Step 4: Sanding for a Smooth Finish
Once the glue has dried, remove the clamps and start sanding. Begin with 80-grit sandpaper to remove any unevenness, then progress to 120 and finish with 220 grit for a smooth, food-safe surface.
Tip: Sand all edges and corners for a rounded, comfortable feel.
Step 5: Finishing Touches
To protect your cutting board and bring out the natural beauty of the wood, apply a coat of food-safe mineral oil or beeswax. Let it soak in for a few hours, then wipe off any excess.
Repeat the oiling process every month to keep your cutting board in prime condition.
Maintenance Tips
To keep your cutting board looking beautiful and functional, follow these simple maintenance tips:
Wash it by hand with mild soap and water; avoid soaking it or putting it in the dishwasher.
Apply mineral oil or beeswax regularly to prevent the wood from drying out and to maintain a food-safe surface.
This DIY project not only enhances your kitchen but also gives you a practical, durable tool for everyday cooking. With proper care, this cutting board will last for years to come.


