Introduction -----------------
Christmas is just around the corner and my front-yard was looking like a small JUNGLE. So, before crack opening a cold one with the boys I planned to fix my front-yard. Hardware Requirement ---------------------------------

For this project we need: Pallet Wood Protective equipment like: Face mask Glasses Gloves Sanding Tool Hammer Measuring Tape Nails Handsaw or Chop-saw Knife Pliers Pencil and Paint of your choice Dismantling The Pallet --------------------------------

Using 2 hammers I am going to dismantle the pallet. My aim is to reuse all the nails that are used in building this pallet. Redwood and Cedar are in general the best option to building a raised garden box in terms of longevity because they are naturally rot-resistant and have been known to last for up to 20 years and they looks gorgeous. Measurement -------------------
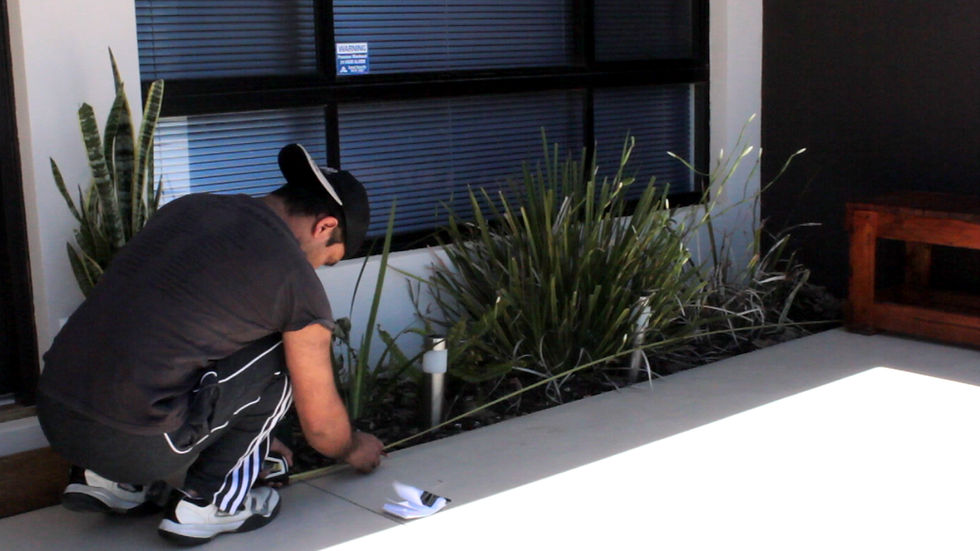
Lets start by measuring the length, width and the height of the area where I am going to place the planter box. 3D Model --------------
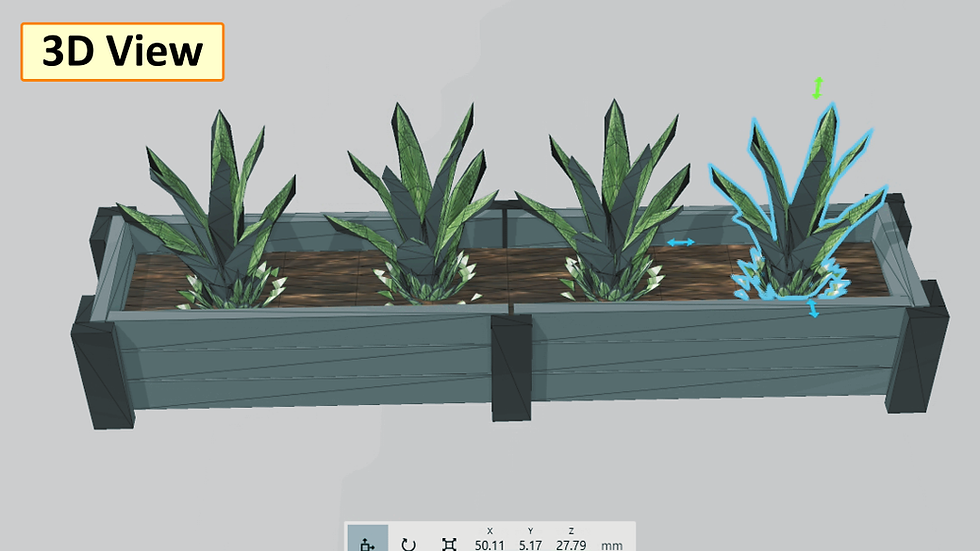
Based on the measurements, I am going to assemble the two small sides first. After that, I am going to put together the two long sides and join them all together. Once all the sides are ready, I will paint the parallel planks gray, and the legs with black paint. After that, I am going to add the potting mix to the planter box and plant the agave plants to the box. Well, enough of talking, now lets get started. Sanding ------------

Lets start the project by sanding the planks to give them a nice and smooth texture. Wood Cutting -------------------

After that, with my magical super fast hands, I am going to cut all the wooden blocks and keep them aside. Building The Box ------------------------ Sides
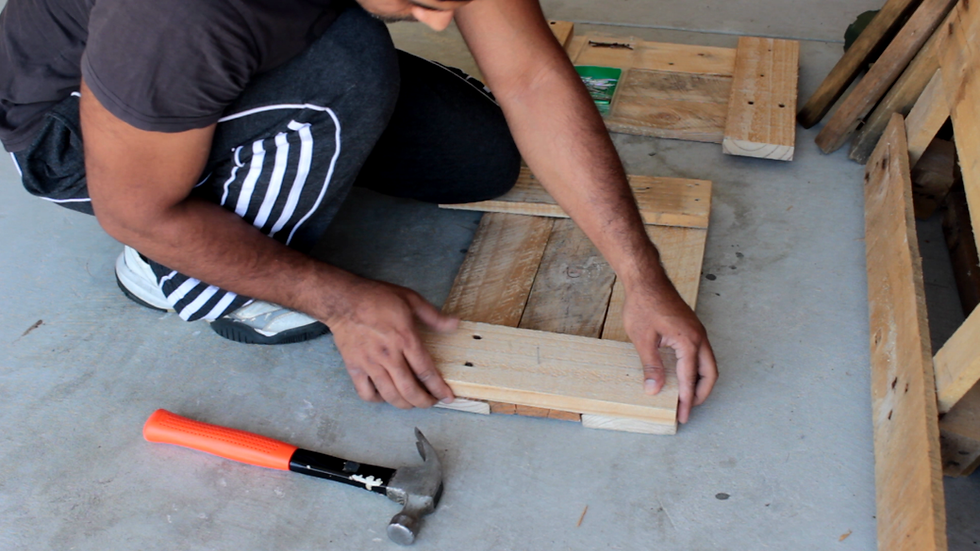
As per the plan, I am assembling the two identical small sides first. The two legs which I am going to put on the sides are going to firmly hold the 3 inner planks together. Front

Next, I am assembling the two longer sides. This planter box is not going to move from its position. So, there is no point of adding any planks to the bottom of the box. Joining The Sides

Once all the sides are ready I am joining them all together. For a bit of extra support I am adding a metal bracket to hold the sides. Painting -----------

Alright, that's all with the nails and the hammers. In the next section, I am going to paint the exterior of the box as per the plan.

My partner came up with an idea of drawing borders between the wooden planks and frankly speaking, with a bit of an extra effort the box now looks even more appealing. Lining The Box ----------------------

Before pouring the soil into the box I am adding a liner to help maintain and prolong the life of the container. Frankly speaking, the lining can be something as simplistic as a black trash bag. These bags are an easy and cheap alternative to the ground liners. If the bag is too big or has a lot of extra length for your wooden planter, you can cut away the extra length with scissors. Place the bag in the planter to check how much of the bag you need to eliminate. Adding Potting Mix ---------------------------

The pallet planter is almost ready. All I have to do now is to fill the planter box with soil. Remember, do not overfill it and make sure to keep the soil at least a couple of inches below the lining level. Planting Agave ----------------------

And now to evenly plant the Agave plants I am placing few sticks to find the right spots.
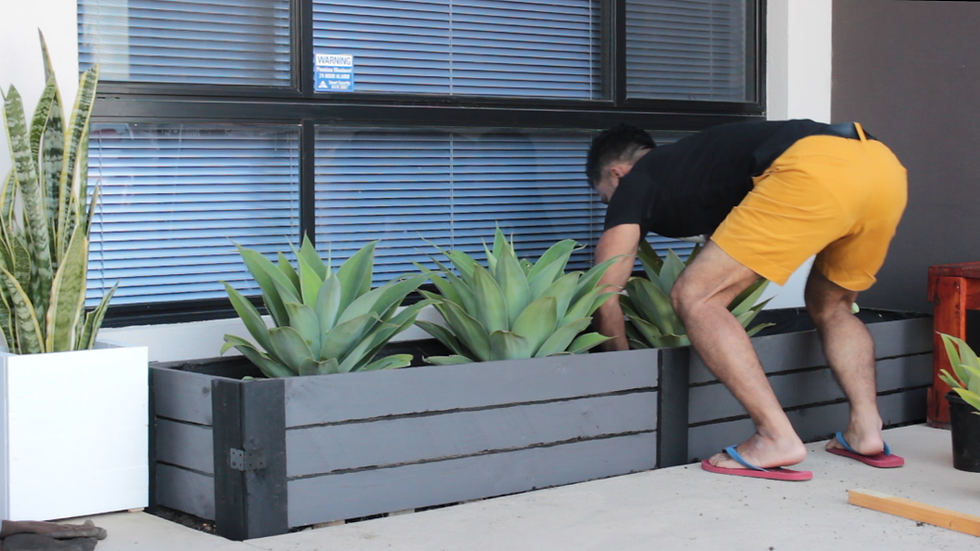
And, that's it, to wrap it all up I am one by one removing the sticks and planting the Agave plants in the box. Thanks ---------- This is another beautiful creation of the wooden pallet that is recycled into an excellent piece of work. So, let's ring the boys and crack open some cold ones. Thanks again for checking my post. I hope it helps you. If you want to support me subscribe to my YouTube Channel (https://www.youtube.com/user/tarantula3) Full Blog Post: https://diy-projects4u.blogspot.com/2019/12/diy-planter-box.html Video: https://youtu.be/B67lplkALvo Thanks, ca again in my next tutorial.




Nice planter! I really like the color... at first, I thought it was a concret project. Well Done!!!