Hi Guys,
In this project, I will be showing you how I am making an hexagonal desk for my little princess. I was thinking about this project since a few weeks now, and as she started school (I mean seriously...😉 ) I have decided to create for her a unique and strong Wall Desk that can stay for a long time.
Meet Queeni...in collaboration with the sponsor for this project: Walabot DIY


Tools Used:
and more below...
We put together a list of some of the tools used in the shop on our Amazon Store (affiliate link), if you'd like to support what we do, shop through this link: MyATCtv Amazon Store
Here is a quick preview video of the build:

By subscribing to the below link and sharing with your friends, you will be able to receive a 3D free plan to make it yourself:
Want to make your own?
Follow the steps below to complete this project.
Step 1:
Getting the Wood
For this type of project, it's very important to have the appropriate amount of wood because you will need to make a certain amount of cut (precise cut).
The amount of ood used is of course depending of the size of your design. The larger is your hexagone and the longer will be the planks.

Here are the 6 pieces needed for my hexagon after making the cut using my miter saw.

Step 2:
Flatter the wood surface
As you may have seen in the preview video, it's very important to have ome straight edges so I can join each plank to each other and create the hexagon. For this I will be using my thickness planer

Step 3:
Create the hexagon
As you can imagine reate the hexagon is not an easy task... Because each plank should have exactly the same dimension, thickness and larger. In 2 words: a nightmare...
But if you follow the measurements I am giving in the 3D plan if should be easier for you to create the same design.


Step 4:
Making the back side
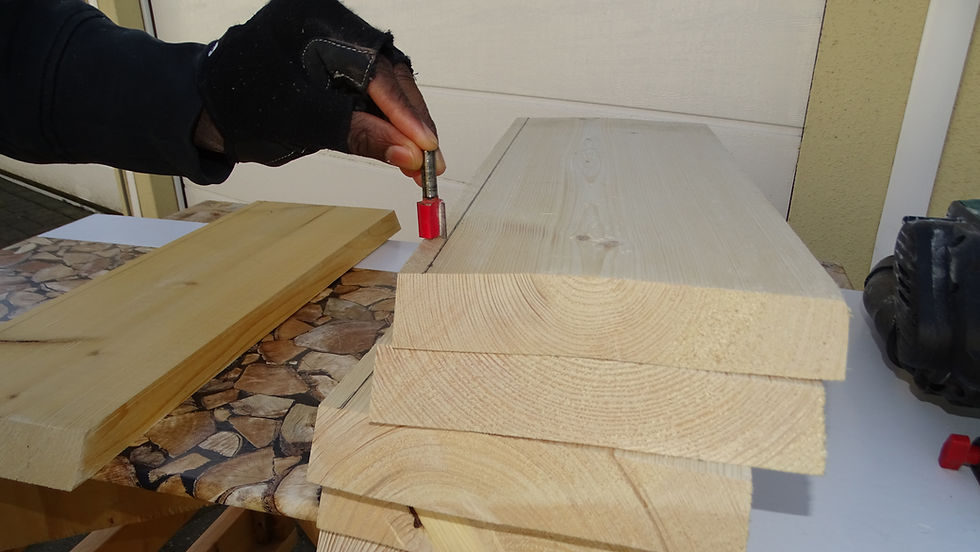
In order to mount the back side of this design, I have decided to create a gap using my Dewalt router.
Note that to insert the middle plank, you will need to remove exactly the same thickness on the back side.


Step 5:
Mounting the back and front side
To cut the big pieces of Plywood going on the back, I will be here using my plunge saw.


Step 6:
Create the shelves

Step 7:
Painting and adding the front doors...


Et Voila!!!


Leave a comment below to let me know what you think!
Mr ATC for another idea of housing
Did you like this article? Register now and for free to be informed of new and up-to-date news articles.


