

As usual I got the wood from a trash container not far from where I live and the good part was that I could find this time several types of wood… which at the same time makes me save money…

And usual I will be sharing with you a plan with the exact dimensions, in case you decide to make it yourself: CUTI
I first decided to make some wood cleaning by passing them to the planer, planing each side of the pieces…


Then, I have decided to go to my miter saw in order to take the first measurements I wanted to have to make the board…

With the strips arranged how I wanted them, I’ve glued each making sure they stays flat as possible … and to keep them together I have used several clamps that will stay all along the drying process…

Then to give the multi wood effect I am here tracing the lines to then go again to the table saw to make the other cuts.


After all was dry, one last time to the planner to make sure I remove all the imperfections...
Then moved to the table saw to clean up the edges and as you can see we already have a great looking cutting board…

And to round up the corners I am here using the router table…

and good to move to the final part which is the adding some mineral oil on the surface…

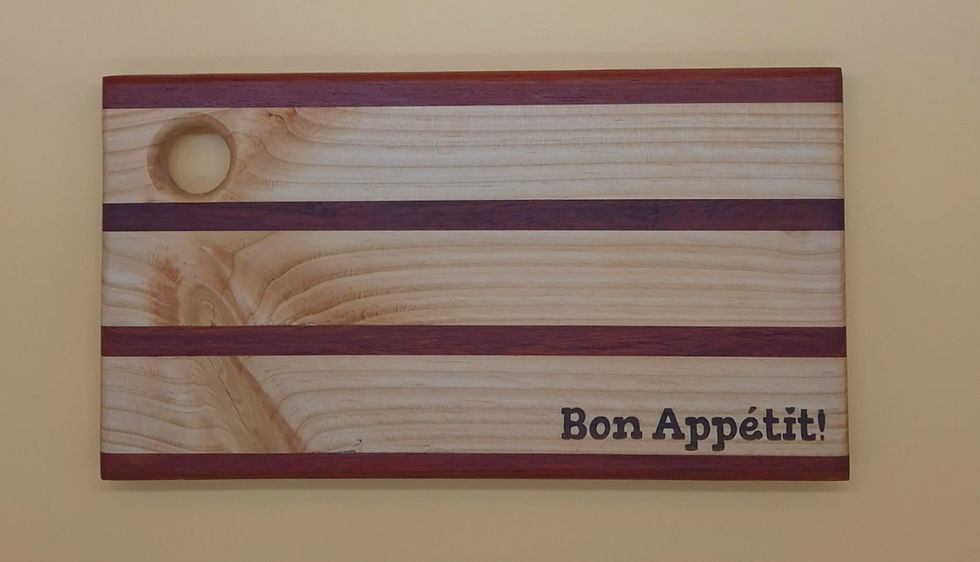
And here we are with a nice cutting board for the kitchen..And if you like it feel free to share on your social media...
Watch the full video at MyATCtv: Click here
Mr ATC for another idea of housing...
Would you like to support ATC for more sustainable consumption patterns? Take part of the 1 reservation = 1 tree planted program, book here and share:
Did you like this article? Register now and for free to be informed of new and up-to-date news articles.


Another nice one as usual...